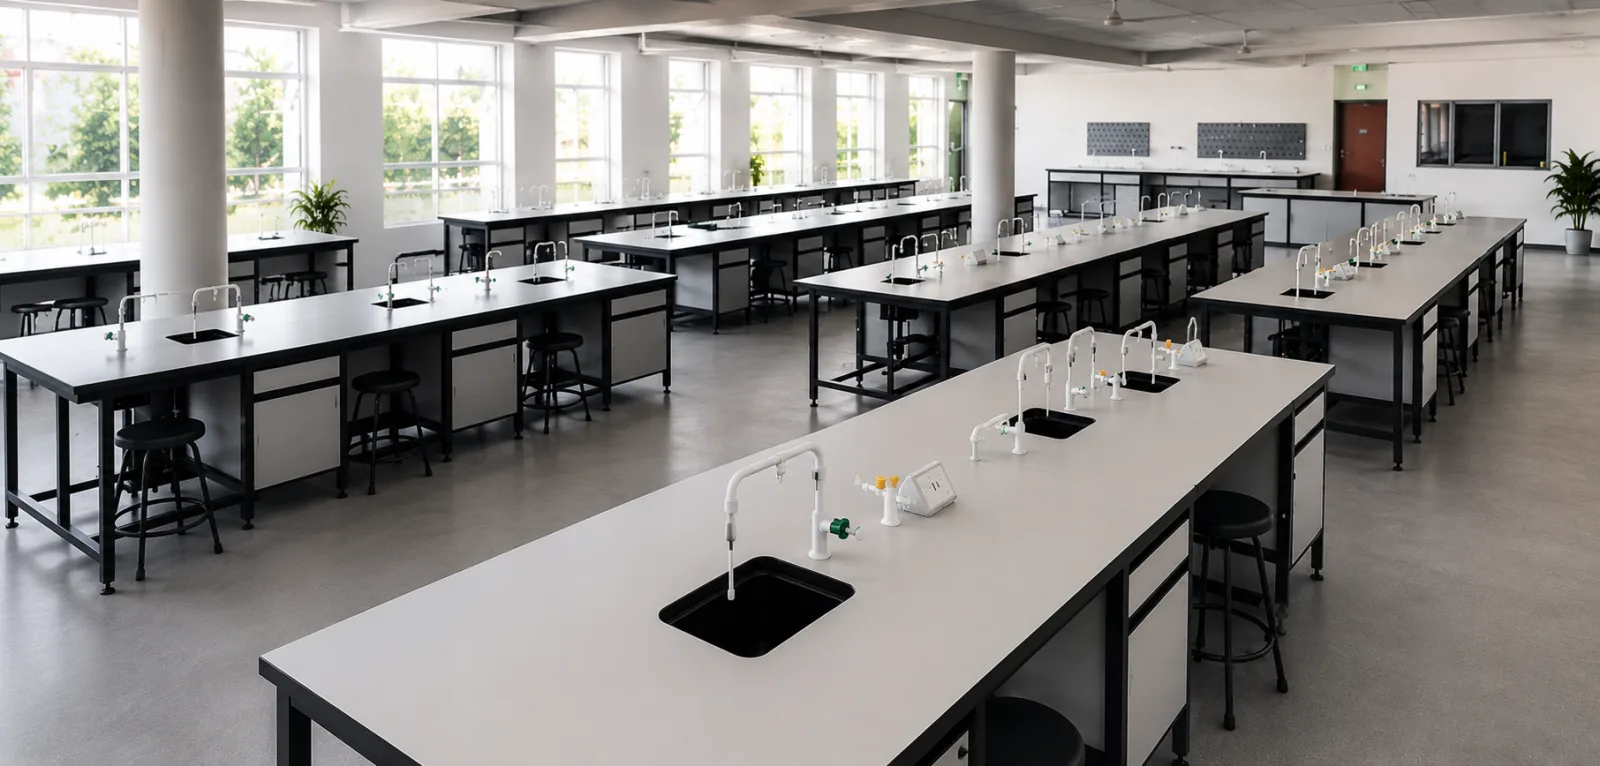
Compact Table Top Thickness: How 12, 24 and 36 mm Edges and 50 mm Mitered Aprons Are Made
Published:
Updated:
Gülmar Yapı
Short answer: At Gülmar, every compact laminate table top is built on a single 12 mm panel, whatever the edge option. A 24 or 36 mm look is created by bonding 12 mm strips under the edge only, and a 50 mm look comes from an apron joined to the top with a 45° miter.
"How thick should the top be?" is usually the first question on a table top quote. Compact laminate sheets are made in greater thicknesses too; the G-COM data sheet, for example, gives fire class and thickness tolerances for the 12–25 mm range. At Gülmar, though, choosing a table top thickness is really choosing an edge construction: the top stays the same 12 mm panel in every option, and what changes is how the edge is built up. This guide explains how 12, 24, 36 and 50 mm tops are made, and what matters when bonding the edges and fastening the base, with sources for every number. If you're choosing by venue instead, see our guide for cafes, restaurants and schools.
What thickness should a compact laminate table top be?
Compact laminate is a decorative sheet, 2 mm thick or more, made by pressing layers based on thermosetting resins under high pressure; performance requirements for interior-grade compact are set out in EN 438-4. At Gülmar, compact table tops come in four edge options:
12 mm: a single compact panel; the edge can be square, radiused or beveled.
24 mm: 12 mm top plus one 12 mm strip bonded underneath along the edge (12 + 12).
36 mm: 12 mm top plus two stacked 12 mm strips along the edge (12 + 12 + 12).
50 mm: 12 mm top plus a vertical apron joined to it with a 45° miter.
In other words, none of our 24, 36 or 50 mm options is one solid thick panel. The center of the top is 12 mm in every case.
Schematic edge sections (not to scale). The light line marks the decorative face; thin gray lines mark the bond lines. At 24 and 36 mm the strips run along the edge only, and the center of the top stays 12 mm.
Is a 12 mm compact table top thick enough?
Whether 12 mm is enough depends on two things: the material and how the top is supported. On the material side, Gentaş's G-COM technical data sheet reports a flexural strength of 114 MPa and a flexural modulus of 16,522 MPa (EN ISO 178), against minimum required values of 80 MPa and 9,000 MPa per EN 438-4. The sheet lists a density of 1.4 g/cm³ (minimum 1.35 g/cm³). The G-Lab data sheet shows the same flexural values. These are reported test results, so they shouldn't be read as structural design values on their own.
On the support side, the ICDLI leaflet on processing compact laminates notes that sheets over 8 mm suit large horizontal surfaces with more widely spaced supports, and leaves the choice of thickness to the user, based on the most demanding conditions of the intended use. Panel thickness, fixing spacing and overhang past the base frame should be worked out together for the expected loads.
In practice, the base drives how a 12 mm top behaves. A four-leg frame supports the top close to its edges, while on a single pedestal table the size of the base plate or spider matters much more. One engineering note: the bending stiffness of a rectangular panel grows with the cube of its thickness (second moment of area I = b·t³/12), so a solid 24 mm panel is clearly stiffer than a 12 mm one. An edge build-up, however, runs only along the edge band, so the center of the top stays 12 mm and the 12 mm panel governs how the middle span behaves. The strip can act like a beam along the edge and somewhat reduce deflection of an overhanging edge. In our practice, though, the build-down is chosen mainly for how the edge looks (see below).
How are 24 mm and 36 mm compact table tops made?
For 24 mm, one 12 mm compact strip is bonded under the 12 mm top along the edge band only. For 36 mm, two strips are stacked. The center stays a single panel while the edge reads at the chosen thickness. This is known as a build-down; the point is to make the edge of the top look fuller and more solid.
Are the black lines on the edge normal? Yes. From the side you can see the 12 mm layers, with thin lines from the compact laminate's black core between them. That isn't a defect; it's how the construction looks. In the section diagram above, the thin gray lines mark these bond lines.
What is a 50 mm mitered apron?
A mitered apron is a vertical compact strip added along the edge of the top and joined to it with a 45° cut. This construction is the choice when the decor needs to show on the edge. Both parts are mitered at 45°, adhesive goes on the joint faces, and the apron is held in place against the top until the adhesive sets.
The visual difference is clear. At 24 and 36 mm you see the black core and layer lines on the edge; with a 50 mm apron, the decorative face continues down over the edge, and only a thin core line may show at the corner of the joint. It gives the thickest edge look of the four options.
How are the edge strips bonded?
Compact laminate responds to changes in temperature and humidity with small dimensional movements. When joining two compact parts, the goal is a lasting bond that doesn't fight that movement. What matters:
Conditioning: Parts are kept in the same ambient conditions before bonding. ICDLI recommends storage at 18–23 °C and 50–60% relative humidity, maintained after sheets are taken from the stack.
Same production direction: Because dimensional change differs lengthwise and crosswise, ICDLI says sheets should only be bonded running in the same direction. Mixed directions make the parts move differently and put stress on the joint.
Surface prep: Bonding surfaces are sanded and kept free of dust, grease and dirt.
Adhesive: Choose an adhesive suited to compact laminate, follow the adhesive maker's instructions and run your own trials first. ICDLI says bonding must not restrain the dimensional movement of the sheets.
Mechanical backup: Joints that see high stress, such as vibration or impact, are reinforced with mechanical fasteners where needed.
12 vs. 24 vs. 36 vs. 50 mm: comparison table
Option
Construction
Edge look
Approx. weight*
When to choose it
12 mm
Single panel
Black core; square, radius or bevel
≈ 15.8 kg (35 lb)
A slim, light look; often requested in our cafe and restaurant projects
24 mm
12 mm top + 12 mm edge strip
Two layers with a black core line between
≈ 19.0 kg (42 lb)
When you want a fuller edge
36 mm
12 mm top + 2 × 12 mm edge strips
Three layers with black core lines between
≈ 22.1 kg (49 lb)
When you want a solid, heavy-looking edge
50 mm
12 mm top + 45° mitered apron
Decor continues down the edge
≈ 19.1 kg (42 lb)
When the decor should show on the edge and you want the thickest look
* Worked example: a 79 × 119 cm (about 31 × 47 in) rectangular top, the 1.4 g/cm³ density from the G-COM data sheet (a 12 mm panel is about 16.8 kg/m²), 5 cm wide edge strips and a 12 mm thick apron. Actual weight depends on size, strip width and edge detail. The base is not included.
How do you attach a compact top to the base: inserts or screws?
The ICDLI leaflet on processing compact laminates covers both: screws can go directly into the panel, or an insert (expansion anchor) can be set into it; according to the leaflet, expansion anchors give the highest pull-out strength. Whichever you choose, three rules stay the same:
Stress-free mounting: Holes in the base plate or frame are drilled larger than the fastener; ICDLI gives 2–3 mm for fixings that pass through and recommends a slip film between the parts. That way the top can move with temperature and humidity without being locked in.
Always pre-drill: ICDLI says pre-drilling is always necessary when screwing into compact laminate, and that screws with a low thread pitch give better pull-out strength.
Leave enough material in blind holes: For holes that don't go through the panel, ICDLI calls for at least 1.5 mm of material left at the bottom. So set the depth from the measured panel thickness, not the nominal 12 mm: depth = measured thickness − 1.5 mm. The G-COM data sheet gives a thickness tolerance of ±0.6 mm for the 12–16 mm range, so on the thinnest 12 mm panel within tolerance (11.4 mm), blind holes should not go deeper than 9.9 mm.
One more detail: on 24 and 36 mm tops the strips run only along the edge. If the base plate's fixing points land outside the strip, in the 12 mm center area, the screw depth still has to be worked out for a 12 mm panel. That's why the base's hole pattern should be settled before the top is cut. We cover hole planning and tolerances in more detail in our article on CNC measurements, holes and edge details.
Will a hot plate leave a mark?
The G-COM data sheet lists a dry heat resistance test at 180 °C per EN 438-2, so the surface has been tested against brief contact with heat. We still recommend a trivet for pots and pans straight off the stove or other long-lasting, high-temperature sources.
Which standard applies to a table top?
There are two separate layers here. As a material, interior compact laminate is classified to EN 438-4, and the required values in the G-COM data sheet refer to that standard. The table as a whole (top, base and connections) is a different matter: EN 15372:2023 sets safety, strength and durability requirements for non-domestic tables. Published in Germany as DIN EN 15372:2024-03, it excludes office work tables and desks, tables for educational institutions, outdoor tables, professional laboratory workbenches and industrial workbenches. Its informative Annex C relates test severity to the intended application. For a furniture maker supplying cafe and restaurant tables, this standard is about testing the complete table, not about which top to pick.
Can a compact laminate table top be used outdoors?
This comes down to grade. EN 438-4 covers interior compact. Outdoor conditions such as direct sunlight, rain and frost fall under a separate standard: EN 438-6 defines exterior-grade compact laminates at two performance levels, one for moderate and one for severe exterior conditions. According to its data sheet, G-COM is an interior compact classified under EN 438-4. For tables that will sit in the open sun and rain, look for an EN 438-6 exterior-grade product. Even for sheltered spots such as covered patios or sunrooms, please tell us at the quote stage whether the tables will get sunlight, and we'll settle the right grade together.
How we work at Gülmar
We've worked with panels and surfaces in İzmir since 1998, and we've been a Gentaş Main Dealer since 2020. We make compact table tops in square, rectangular and round shapes, in standard sizes or cut to your project. Edges can be square, radiused, 45° beveled or grooved. For CNC cutting to size and base holes, just send us the hole pattern of your base. Our typical CNC lead time is 7–10 days, depending on quantity and part complexity.
To speed up a quote, send us these details on WhatsApp: top size and quantity, thickness/edge option (12, 24, 36 or 50 mm), edge profile, base type and decor. For material specs, see the G-COM compact laminate page; for panel thicknesses in other applications, see our thickness guide; for how compact differs from HPL, read our compact laminate vs. HPL guide.
#compact laminate table top#table top thickness#edge build-up#mitered apron#G-COM#EN 438-4#EN 15372
Frequently asked questions
At Gülmar the top surface is a single 12 mm panel in every option. The 24 and 36 mm options are edge looks made by bonding 12 mm strips under the edge only, and the 50 mm option adds a 45° mitered apron. The choice usually comes down to the edge look you want, the base and how hard the table will be used.
12 mm is often requested in our cafe and restaurant projects, but the base matters most. The G-COM data sheet reports a flexural strength of 114 MPa and a flexural modulus of 16,522 MPa. How far the top overhangs the frame, how far apart the fixing points are and whether it sits on one pedestal or four legs decide how a 12 mm panel performs. For large single-pedestal tops, we suggest checking the base plate size together.
At Gülmar they are not one solid piece. At 24 mm one 12 mm strip, and at 36 mm two strips, are bonded under the 12 mm top along the edge only, so the center stays 12 mm. From the side you can see the 12 mm layers, with thin lines from the compact laminate’s black core between them. That is not a defect; it is simply how an edge build-up looks.
A vertical compact strip, the apron, is added along the edge of the top and joined to it with a 45° cut. The edge then reads as 50 mm and the decorative face continues down over it, with at most a thin core line at the corner of the joint. This construction is the choice when the decor needs to show on the edge. At Gülmar the top surface itself is still a single 12 mm panel.
Screws can go straight into the panel, or a threaded insert can be set into it. ICDLI recommends oversized holes in the base (2–3 mm for fixings that pass through), always pre-drilling, and at least 1.5 mm of material left under blind holes. With the ±0.6 mm tolerance in the G-COM data sheet, that means blind holes 9.9 mm deep at most on a 12 mm panel. Send us your base’s hole pattern and we can drill it on our CNC.
It depends on the grade. According to its data sheet, G-COM is an interior compact classified under EN 438-4. Tables that will face direct sun, rain and frost need an exterior-grade compact laminate covered by EN 438-6. Even for sheltered spots such as covered patios or sunrooms, tell us at the quote stage whether the tables will get sunlight, and we will settle the right grade together.
 Panels & Plates
Manufacturer

 ®